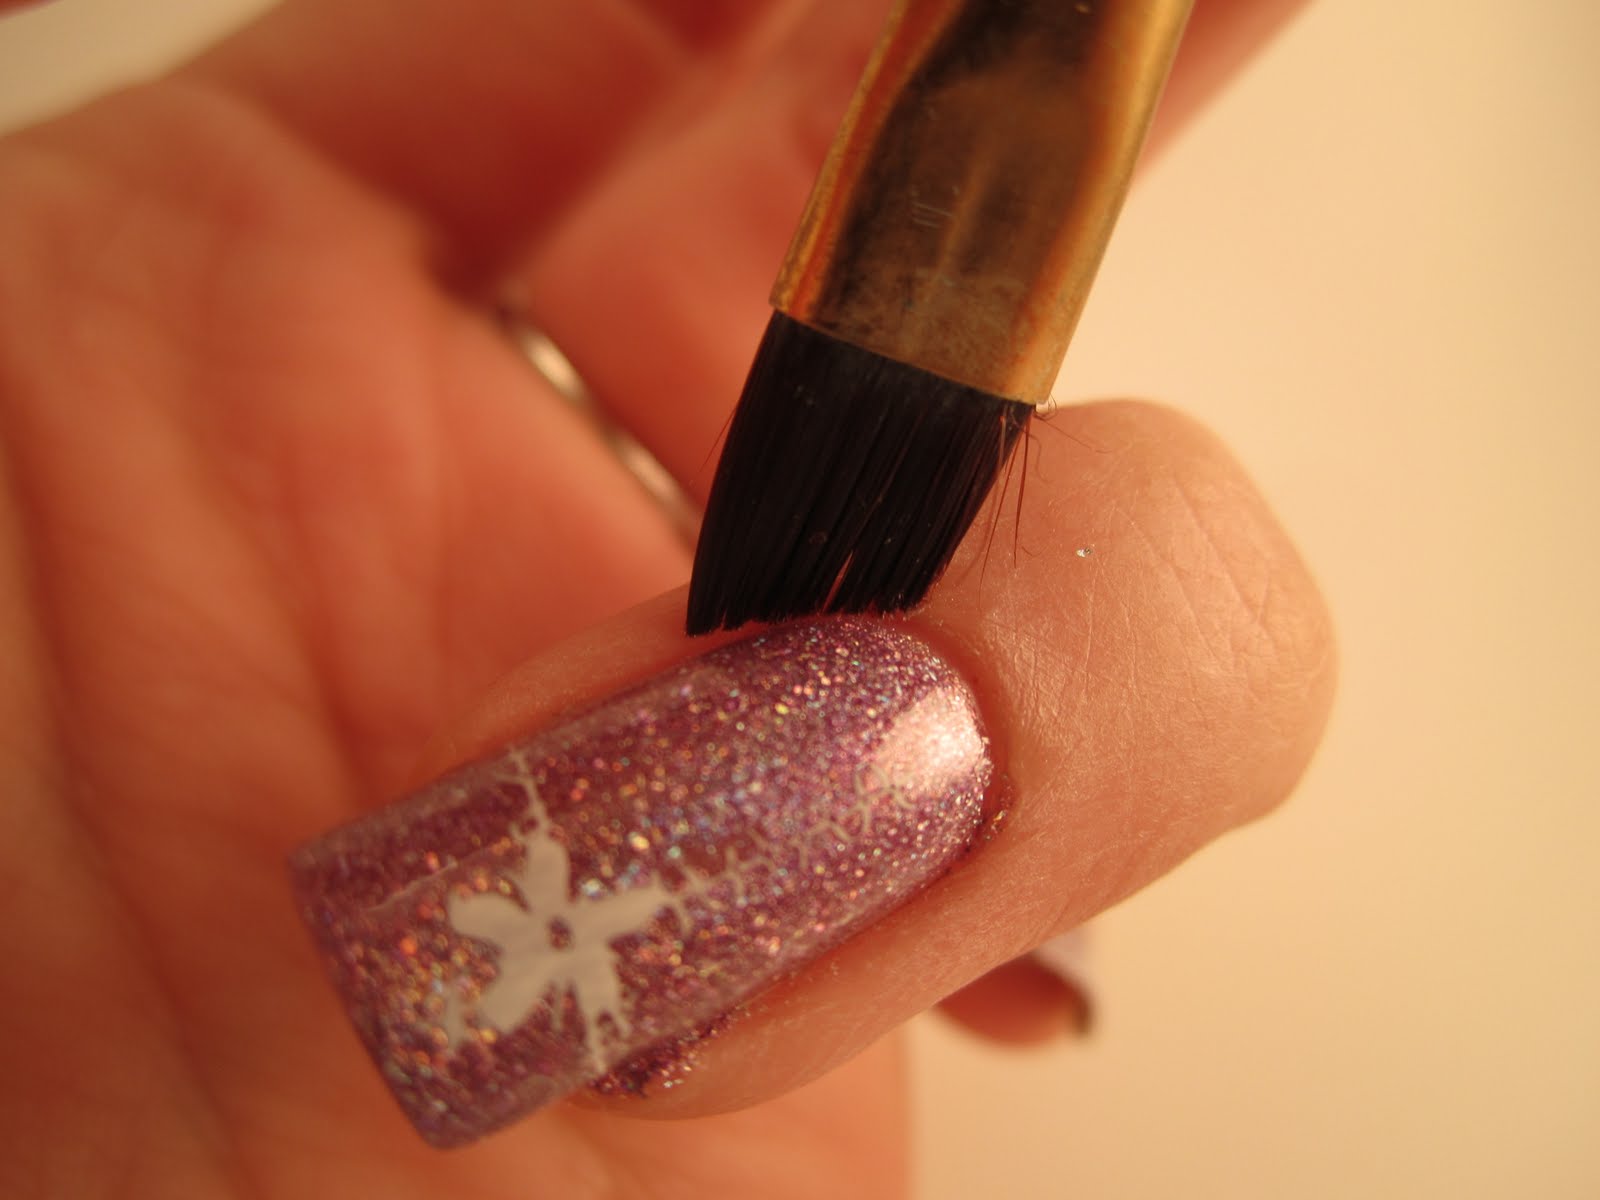
Hi everyone, hope you all are having a happy Easter! This is my Easter present to Everyone. I decided to do a tutorial on stamping for anyone who is new to stamping. I hope this is helpful! I used a fake nail for this tutorial so that it would be easier to take pictures.
Step 1: Gather everything that you will need. This is what I use, base nail polish, stamping polish, stamper, scraper, acetone, Q-tip, and the image plate. I actually forgot to picture my SV top coat, I never stamp without it!
Step 2: Paint on your base color and either let it dry completely or put on a coat of SV (Seche Vite top coat). Then pick out a design that will fit on your nail.
Step 3: I always do my stamping on a paper towel to keep things clean. Use the polish you chose for stamping and paint the polish onto the design. I usually don't paint the entire design only about half as shown in the 3rd pic.
Step 4: Scrape the polish from one side to the other. I will start scraping on the side where I painted the polish. This way it scrapes off the excess polish and scrapes it into the design meaning that less polish is wasted! When I scrape the polish off I will continue all the way onto the paper towel to remove extra polish from the scraper (4th pic)
Step 5: This part is pretty easy. This is where you pick up the design onto your stamper. I usually use a rolling motion to pick up the design just to make sure I pick up the whole design. The amount of pressure you apply depends on the polish that you are using. Some thinner polishes will smudge if you apply too much pressure, it is just trial and error.
Step 6: There are several different ways to do this but this is how I prefer to do it. I first line up the design with the edge of the nail. The with the same rolling motion I roll the design onto the nail from one side to the other. There you have it!
Clean up: Some people say that you should clean the image plate after each use but I don't usually do that. If I am using a regular polish (not quick dry) then I can usually get through about 4 or 5 nails before the designs starts to not work. I also do not clean the scraper after each use besides wiping it on the paper towel. I will clean the scraper if I am changing colors or when I am done. I will also clean the stamper only if there is polish left on it. For all of these things I use a Q-tip dipped in acetone. I really like to use this to clean everything up because it won't mess up my mani!!
I hope this was helpful!! I know this post is already long but I wanted to include some helpful hints for stamping.
- If you are new to stamping do not use a quick dry polish because they can be temperamental
- Make sure you put a top coat over the stamp to extend the life of your mani.
- You do not have to use Konad polishes! Other polishes work too. I have a list of a few that I use here: Stamping Polishes
- If some of the polish gets on your skin around your nail or on your cuticles use a Q-tip or small brush dipped in acetone to clean it up.
- Most plates come with a thin plastic film on them, please remove this before stamping because it will not work.
- Do not twist the lid closed on the polish you are stamping with because it takes too much time and will give the polish time to dry. Just set the lid on the bottle.
- If all of the extra polish did not come off the first time you scraped it just scrape it again.
- If a design doesn't come out the way you like it you might be able to save it by just scraping it off with another nail. I have done this several times and sometimes it works and sometimes it doesn't
- Work very fast. Once you pick up the design you should put it on your nail pretty quickly. If the design dries on the plate it won't pick up and if it dries on the stamper it will not transfer.
- Most importantly just practice and you will get the hang of it. Be creative using more than one stamp or more than one color for one stamp. Just have fun with it!!

 Posts
Posts